| |
How to lay a concrete base
|
|
| |
|
|
|
|
| |
 |
|
| |
|
|
|
|
| |
|
|
Preparing the base
|
|
| |
 |
|
Careful preparation is required! Your base has to be completely stable and level, otherwise your garden building will eventually warp. It's not worth cutting corners at this stage.
Before you start marking out the base, you need to equip yourself with a ball of string, four wooden pegs, a mallet, spade, wheelbarrow, earth rammer, broom, a damp-proof membrane and some polythene or hessian sacking.
|
|
| |
|
|
|
|
| |
 |
|
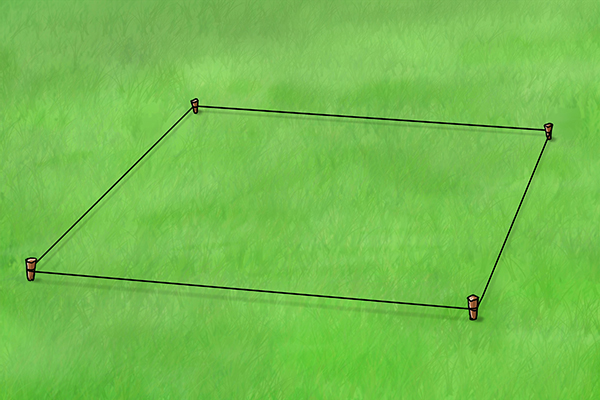
Step 1 - Mark and measure
Using pegs and string, mark out the area for the base of the building. Measure lengths between opposite corners to ensure the angles are equal and all the sides of the base are completely straight. Don't make the base too big - if you have a concrete rim around the building, rain will bounce off it and on to the timber walls, eventually causing damp. It's best to keep the base the same size as the footprint of the building.
|
|
| |
|
|
|
|
| |
 |
|
Step 2 - Dig marked area
Dig out the ground in the marked area to 175mm (around 7") deep for a small shed, and 225mm (about 9") for a large shed, a summerhouse or log cabin. Remove the pegs and string line. Try to keep the depth consistent all the way across - it will help you achieve a level base.
|
|
| |
|
|
|
|
| |
 |
|
Step 3 - Lay MOT stone
Shovel a minimum thickness layer of 75mm (3") compacted MOT type 1 stone (crushed stone 40mm to dust) or gravel into the dug-out area. This will form a hard base over which you can spread the concrete layer. This should be 100mm (about 4") deep for a shed and 150mm (around 6") for a log cabin or summerhouse. Most builders' merchants will supply the MOT type 1 stone in one-tonne bags.
|
|
| |
|
|
|
|
| |
|
|
 |
|
| |
|
|
|
|
| |
 |
|
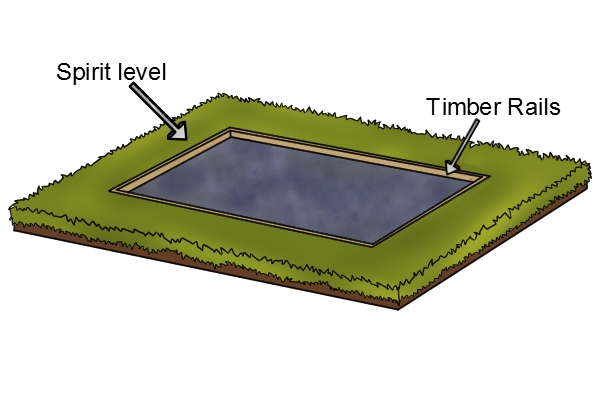
Step 4 - Measure and cut timber rails
Measure, cut and fit 100mm (4”) timber rails to the base. Check the framework is level. The framework has two purposes: to create a strong and stable edge to the concrete, and to ensure it is level (if the concrete is filled to the top edge of level framework, the concrete will also be level).
|
|
| |
|
|
|
|
| |
 |
|
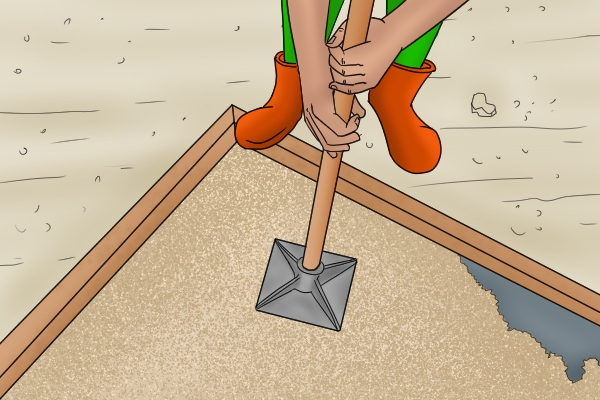
Step 5 - Spread and compact stone
Spread out the layer of MOT stone or gravel, and compact using either a manual earth rammer or powered wacker plate. Compacting the stone will ensure a firm base for the concrete and prevent it from cracking or subsiding later on.
|
|
| |
|
|
|
|
| |
 |
|
Did you know?
Petrol-driven wacker plates compact the stone using vibration and are often used to make the bases of larger garden buildings. They are readily available to hire by the day.
|
|
| |
|
|
|
|
| |
 |
|
Step 6 - Cover with sand and damp-proof membrane
Cover the stone or gravel layer with a generous amount of sand (concreting or sharp sand). After this, cover with a layer of 1000g polythene damp-proof membrane to prevent moisture rising through the concrete and into the building's floor bearers. The sand fills any voids which could cause sinking and is used as protection so the stones do not pierce the membrane.
|
|
| |
|
|
|
|
| |
|
|
Mixing the concrete
|
|
| |
 |
|
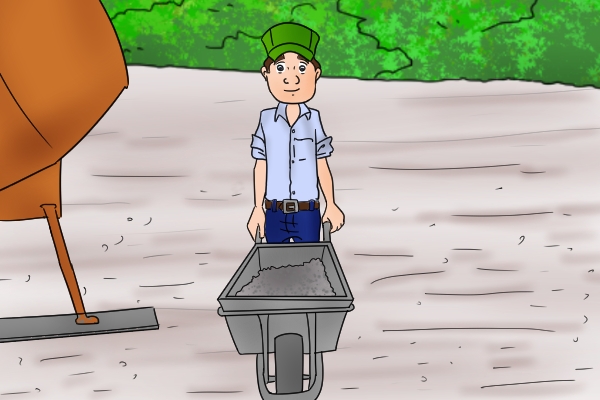
To mix concrete by hand you will need a wheelbarrow, bucket and shovel. For larger jobs you could hire a cement mixer. This will give a more even mixture and allow you to make sufficient quantities so that the first batch doesn't harden while you are still laying the rest of the concrete.
We advise a mixture of 1:4:1 (one bag of cement to four bags of sand and one bag of gravel or MOT type 1 stone), plus water (about half a litre for every kilo of cement).
|
|
| |
|
|
|
|
| |
 |
|
We recommend also using a mortar plasticiser. Adding plasticiser reduces the amount of water required and provides a smoother, shrink-free mixture that, when dry, remains flexible and is more resistant to the effects of frost.
Plasticiser usage guide: 150ml to 25kg cement mixed in water before adding sand and cement.
|
|
| |
|
|
|
|
| |
 |
|
If your sand is delivered wet, take this into account when mixing the concrete and add less water to prevent the mixture from becoming sloppy.
At the right consistency, the concrete should be stiff enough to almost fully support itself in a heap on the shovel.
|
|
| |
|
|
 |
|
|
|
|
|
|
| |
|
|
Laying the concrete
|
|
| |
 |
|
Step 1 - Spread concrete evenly
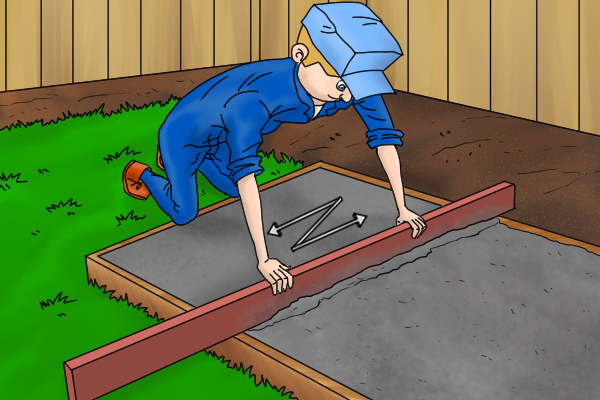
Spread the concrete evenly and slightly proud of the timber rails. This can then be levelled off with a straight edge timber resting on the rails, using a sawing motion.
|
|
| |
|
|
|
|
| |
 |
|
Step 2 - Brush across surface
Once the surface has been smoothed over, use a stiff room to lightly brush across the base. This will leave a textured, non-slip surface.
|
|
| |
|
|
|
|
| |
 |
|
Step 3 - Cover base
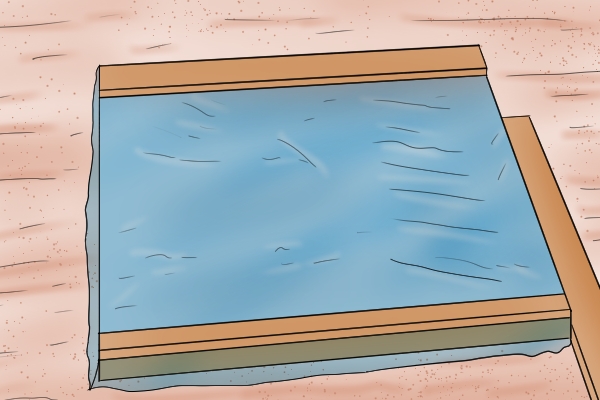
If wet weather is forecast, cover the finished base with polythene or a tarpaulin for 24 hours. In hot weather, cover with sacking and keep it damp for a day to prevent the concrete drying too quickly, which could result in shrinkage and cracking. Hessian sacking is also very good at preventing frost damage.
|
|
| |
|
|
|
|
| |
 |
|
Step 4 - Leave to cure
Leave a minimum of three days to cure. This allows the concrete to harden and reach its full strength.
When the concrete is fully cured, remove the timber rails - they should lift out fairly easily as only one edge is in contact with the concrete.
|
|
| |
|
|
|
|
| |
 |
|
Step 5 - Fill in space
If your base is flush with the ground, you will be left with a space running around the edge of the concrete now that the rails are gone. The best way to fill this in is with pea gravel (available in 25kg bags from builders' merchants). This will help to drain away moisture from the concrete base. Now all you have to do is sit back and wait for your shed, summerhouse, workshop or log cabin to be delivered.
|
|
|
|
|
|
|